
Thinking about giving your kitchen a fresh look? If you’re considering a weekend DIY project, kitchen cabinet painting is one of the most cost-effective ways to upgrade your space. Many homeowners ask about the right approach to painting kitchen cabinets step by step, and the answer can save you time, frustration, and money.
In this guide, we’ll walk through each step clearly, using simple language so anyone can tackle this project with confidence.
Key Takeaways:
- Save money by painting cabinets instead of replacing them
- Learn the exact order to ensure a smooth, durable finish
- Discover common mistakes to avoid
- Get a list of must-have tools and materials
Before you dive into painting, start by removing all cabinet doors, drawers, and hardware like handles, knobs, and hinges. This step might feel tedious, but it's essential for achieving clean, even coverage without obstructions.
Place all hardware in labeled plastic bags or containers to avoid losing pieces. As you remove each door or drawer, label it with painter’s tape that corresponds to its original position. This labeling system will save you a ton of time later and ensure that everything fits perfectly when it's time to put your kitchen back together.
Staying organized here makes the entire project smoother and helps you avoid frustrating mix-ups.
Grease, grime, and residue are your enemies here — and they're more stubborn than you might think. Over time, kitchen cabinets build up a layer of cooking oils, food splatter, and fingerprints that aren't always visible to the eye. Use a strong degreasing cleaner, such as TSP (trisodium phosphate), to thoroughly scrub every surface that will be painted.
Pay special attention to areas near the stove and handles, where grime tends to accumulate the most. Even a thin film of oil can prevent primer and paint from bonding properly, leading to peeling and flaking. This step may not be glamorous, but it lays the foundation for a long-lasting, professional-looking finish. Don’t skip it — it’s absolutely essential.
Step 3: Sand the Cabinets
Use medium-grit sandpaper (around 120-150 grit) to scuff the cabinet surfaces evenly. This step isn’t about stripping the wood — it’s about creating a slightly rough texture that gives your primer something to grip onto. Be sure to sand all flat panels, edges, and corners to ensure an even surface.
If your cabinets have a particularly glossy or factory-finished surface, consider using a more aggressive grit or a liquid deglosser to break through the shine. This extra effort can make a big difference in how well the primer and paint stick.
Step 4: Wipe Down Dust
After sanding, it’s crucial to remove every trace of dust from the surface — even the tiniest particles can interfere with primer adhesion and create a gritty texture in your finish.
Use a tack cloth to gently pick up fine dust or, alternatively, a clean, damp rag to thoroughly wipe down all surfaces. Be sure to get into corners, grooves, and edges, as dust often hides in these spots. A truly dust-free surface gives you the smoothest possible start for priming.
Step 5: Apply Primer
A quality primer is the foundation of a professional-looking paint job. It helps the paint bond securely to the cabinet surface, prevents stains from bleeding through, and extends the overall durability of the finish.
Be sure to use a stain-blocking, bonding primer that’s specifically made for cabinetry. These primers are formulated to handle high-touch surfaces and provide a consistent base for paint.
Apply a smooth, even coat with a high-quality brush for the edges and detailed areas, and use a foam roller for the larger flat panels to avoid streaks and roller marks. Don’t rush this step — the better your primer layer, the better your final result will be.
Pro Tip: Tinted primer can help if you’re painting cabinets a darker or bold color.
Step 6: Sand Lightly After Priming
Once your primer is dry, it’s time to refine the surface before applying paint. Use a fine-grit sandpaper (220 grit) to lightly sand the primed areas. This step helps eliminate any visible brush strokes, roller lines, or tiny imperfections left behind by the primer application.
The goal is to create a silky-smooth surface that allows the paint to glide on effortlessly and adhere properly. After sanding, be sure to remove all dust using a tack cloth or microfiber cloth — even small particles can interfere with the final finish.
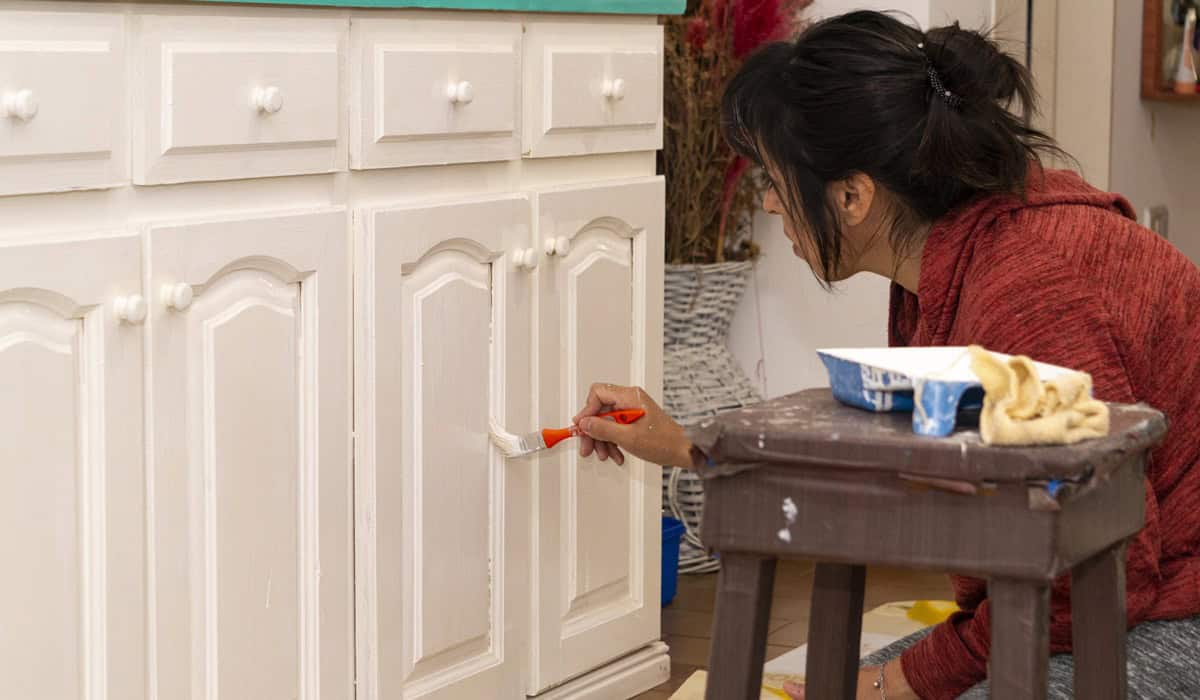
Step 7: Apply the Paint
Now comes the fun part — adding color and personality to your kitchen. Choose a high-quality enamel or acrylic latex paint that’s specifically formulated for cabinets, as these paints offer a hard, smooth finish that holds up well to daily wear and tear.
For the best results, apply the paint just like you did with the primer: use a high-quality brush to cut in around edges and corners, and a foam roller to cover the larger flat surfaces evenly. Be sure to work in long, smooth strokes to minimize brush marks and roller texture.
Always go with two thin coats rather than one thick one — this helps the paint dry more evenly and prevents drips, sagging, or bubbling. Taking your time here really pays off in the final look.
Drying Time: Follow manufacturer instructions. Usually, wait 4-6 hours between coats.
This is where patience really makes a difference. While the paint may feel dry to the touch within hours, it's not truly hardened until it's had several days to cure completely. During this curing phase, the paint continues to set and strengthen, which is critical for a durable finish that resists chips and scratches.
Avoid using the cabinets for anything other than light contact, and hold off on reinstalling heavy items or slamming doors. Giving the paint ample time to cure will preserve your hard work and give your cabinets a showroom-quality appearance.
Once everything is fully cured, it’s time to put your kitchen back together. This step may feel like the home stretch, but it’s just as important as the painting itself.
Carefully reattach each door and drawer to its original location, using your tape labels as a guide. This ensures everything aligns properly and prevents unnecessary mix-ups. Take your time with the hardware, tightening screws evenly to keep doors level and fully functional.
Small missteps during a cabinet painting project can quickly lead to frustrating results. Whether you're new to DIY or have some experience under your belt, avoiding these common errors is key to getting a professional-looking finish that lasts. Here are some common pitfalls to be aware of — and how to avoid them:
- Skipping cleaning or sanding steps: Failing to prep surfaces properly can cause the paint to peel, chip, or not adhere at all. Always clean and sand thoroughly.
- Rushing between coats: Paint needs time to dry and cure. Applying the next layer too soon can cause tackiness, smudging, and uneven texture.
- Using cheap brushes or rollers: Low-quality tools can leave streaks, lint, and an uneven finish. Invest in good brushes and foam rollers for a smoother result.
- Not labeling doors during removal: Skipping labels can make reinstallation a confusing puzzle, resulting in mismatched hardware or misaligned doors.
- Not allowing paint to cure properly: Just because paint feels dry doesn’t mean it’s fully cured. Avoid using the cabinets heavily until they’ve had time to set completely.
Recommended Tools & Materials
Before you start, make sure you have the right tools and supplies on hand. Here’s a list of essentials that will make the process smoother and more efficient:
- Screwdriver
- Painter’s tape
- Degreaser (like TSP)
- Sandpaper (120, 220 grit)
- Tack cloth
- Primer (bonding, stain-blocking)
- Cabinet paint (enamel or acrylic latex)
- High-quality brush and foam roller
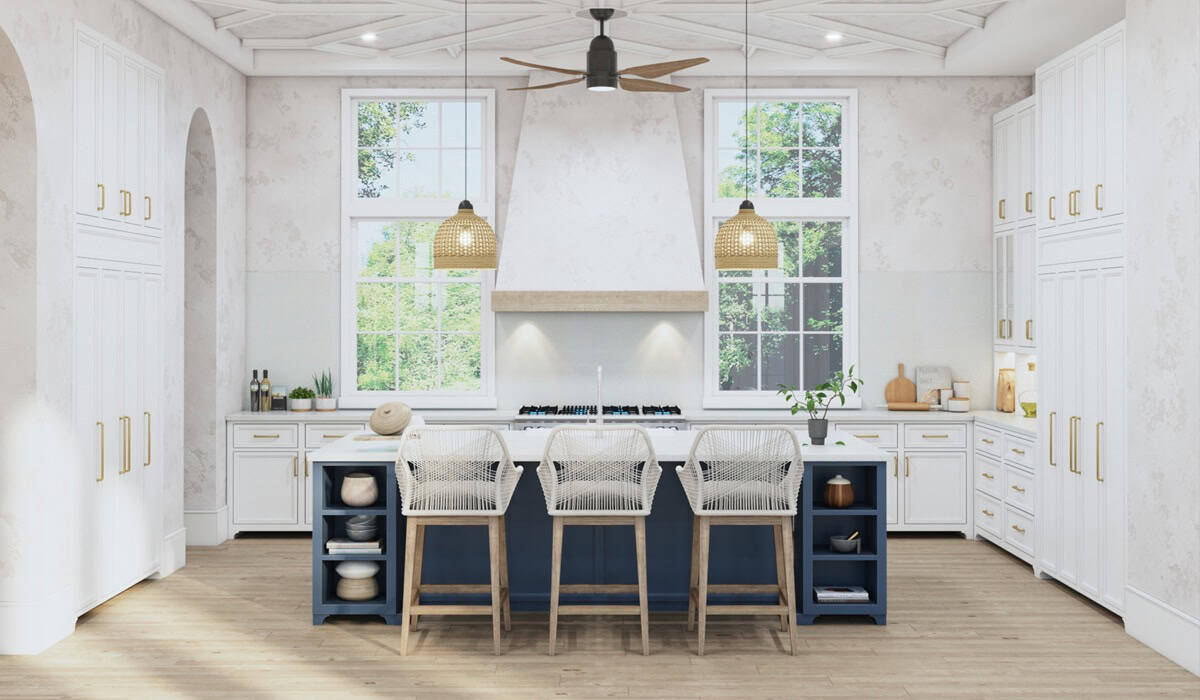
Final Thoughts: Is It Worth Painting Cabinets Yourself?
Absolutely — if you follow the right steps. Painting kitchen cabinets step by step makes a huge difference in both look and longevity. This project takes effort, but the payoff is a kitchen that feels brand new without the major expense of a remodel.
Want a flawless finish without the DIY hassle? Contact JK Painting Service Corp at 781-650-7296 and let the pros handle it for you.